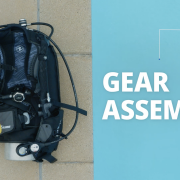
If you’ve just started your PADI Open Water Diver course, or simply haven’t been in the water for some time, we’ve got you covered. This video gives you a full visual breakdown on how to perfect the skills of assembling your gear, so you are safe and comfortable in the water. If you ever need help with assembling your gear, come visit us at our Bundaberg Dive Centre.
Scuba Gear Assembly in 14 Easy Steps
- Inspect dates (visual and hydrostatic tests)
- Inspect o-ring (for damage)
- Place BCD on the cylinder
- Tighten BCD strap (and clamp on the cylinder)
- Hold regulator setup (regulator hoses in your right hand)
- Remove the dust cap
- Attach 1st stage onto cylinder (seat on o-ring)
- Use three fingers (do not overtighten)
- Attach low-pressure inflator hose to BCD
- Streamline hoses (inflator, octo, gauge console)
- Place gauge console facing BCD (away from eyes)
- Fully open cylinder valve
- Check pressure for a full cylinder Step
- Lay gear down on cylinder (or strap down on boat)
We hope you found this short guide helpful. At Turtle Town Scuba, we can help you with scuba gear hire in Bundaberg and Bargara and are always happy to answer any questions you might have in regards to your equipment or diving in general. Be sure to also check out our Scuba Diving FAQs on our website.
Want to get PADI Open Water Diver certified? Here’s how to get started!

 Turtle Town Scuba
 Turtle Town Scuba

